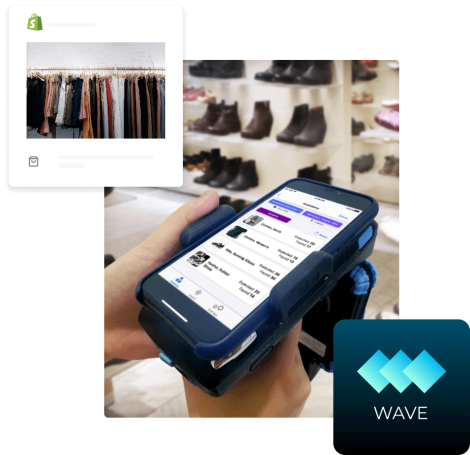
Using the Quick Tag Function

In this article, we'll guide you through using Quick Tag the easiest and most efficient way possible. Quick Tag is the quickest way to comission new items into your database --- whether you do them individually or by batch. This function save you a dozen, if not hundreds, of man hours you used to slave counting every box and taking note of your count using any other inventory management tool you have had. Before we start our guide, kindly remember these three words:
Peel - Stick - Track
Please follow the steps below to add new items to your inventory using the Quick Tag feature.
Step 1: Scan the tags using Quick Tag
- Begin by launching the Wave app and selecting Quick Tag.
- Once you’re on the quick tag screen, select your location.
Step 2. Scanning the SKU
- When you’re done choosing your location, tap on Asset ID field to input the SKU.
- Scan, or input, your SKU/UPC from your barcode. If you don't have a barcode, please read this chapter.
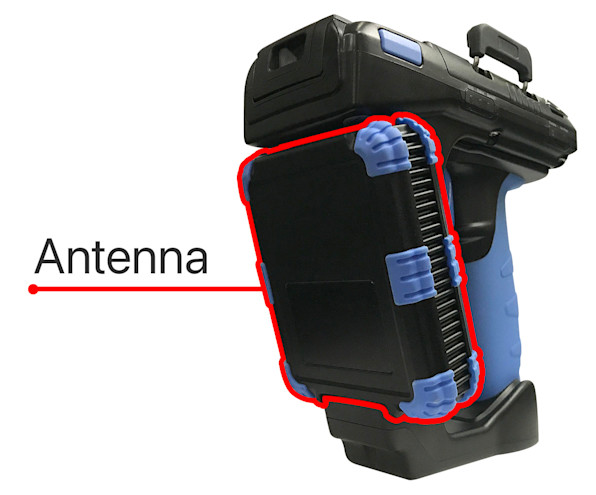
- Using the 2D Barcode reader module on your handheld, point it towards the UPC. Squeeze and hold the trigger until the UPC show up on the Asset ID field.
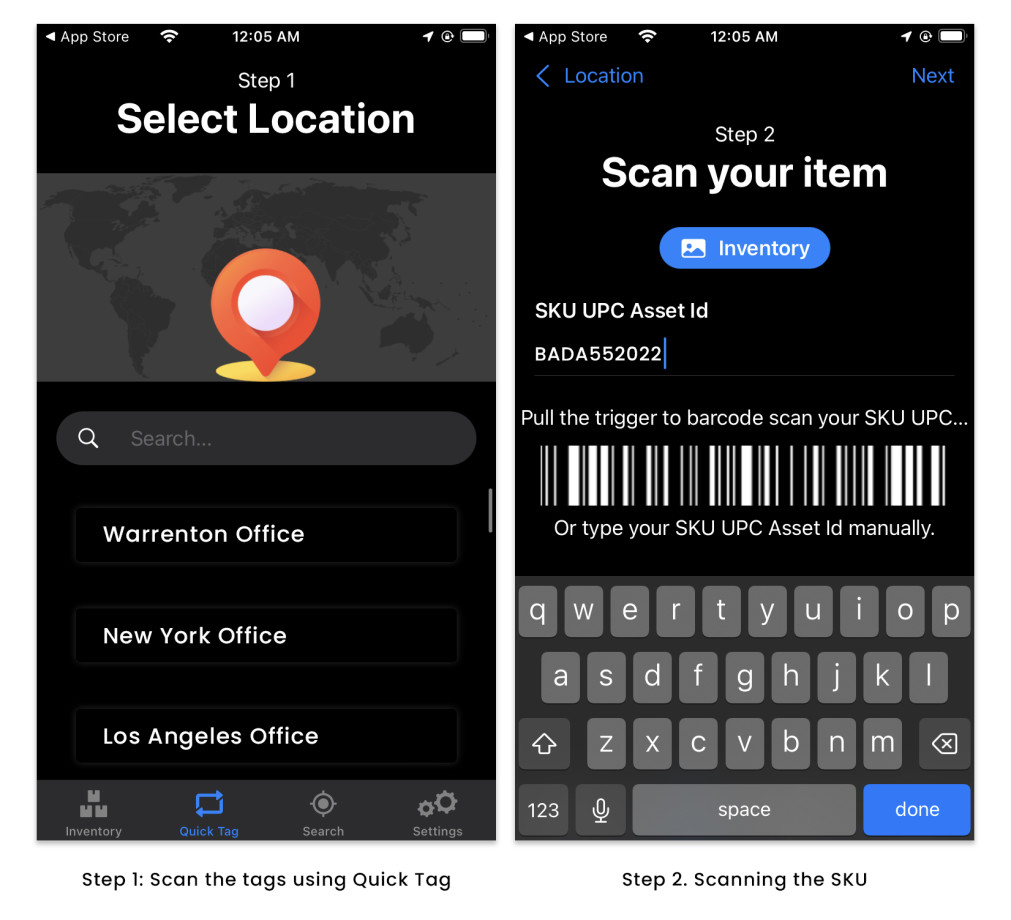
Note: Do not type in the UPC or SKU. Not only this would be exhausting and tedious when you have to scan many SKUs, but also it presents a huge risk of inputting wrong data
Step 3. Scanning your RFID tags
Note: Turn up the volume on your cellphone to hear the magical sound of RFID.
- You’ll see the quantity displayed on the leftmost side of the page.
- If it doesn’t match the amount you need, continue scanning your labels; however, if you pickup tags that were previously commissioned, swipe left on the line item and tap Delete.
- When you’re happy with the details, tape Save on the upper right hand corner of the screen.
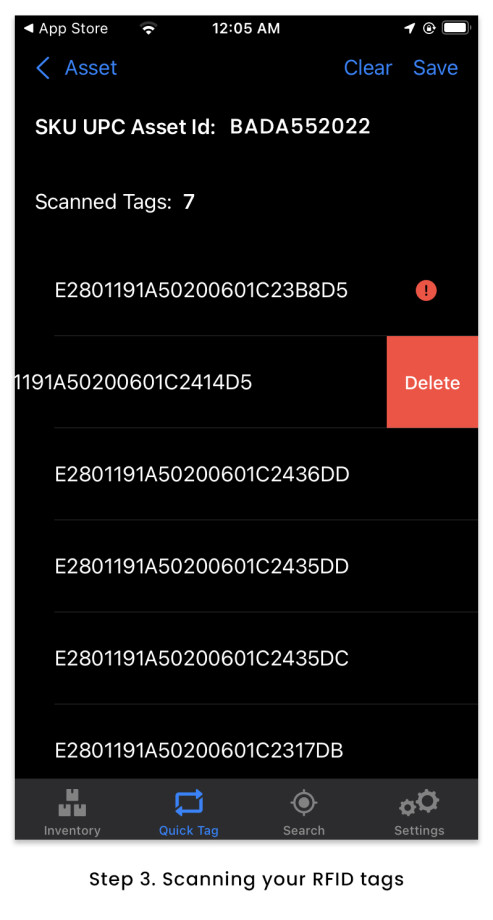
After saving, a success message should prompt you if the RFID tags has been successfully commissioned. The system will prompt you if either the added RFID tags are currently existing in system. If not, a success message will show up instead.
Step 4. Apply the labels to your physical inventory
- Start by peeling off the tags from the sticker backing.
- Apply it to the surface on the corner that’s farthest away from the product inside the packaging.
Follow the specific tagging instructions for the appropriate vertical your item belongs:
Apparel Tagging Guide
Wine Tagging Guide
Jewelry Tagging Guide
If your product is not packed in a cardboard box or if you’re tagging directly into an items, please contact SimplyRFID so we can guide you through which tags will be perfect for your items.
Now, you’re done! Save your work. Time for a break.